
The very first thing I do, which I have no photo of, is grab a handful of scraps and sort them into piles - larger scraps to file elsewhere, big strips (again, these go elsewhere) small strips, small scraps (2-3"), very small scraps (1.5" or so) and impossibly small scraps (which go in the bin straight away). I then grab two small scraps - many of which are triangular or irregularly shaped - and join them together. These here are a little larger, but I didn't think to take photos until today, and most of the small scraps are gone already (yeah!!):

As long as the pieces I have joined have a nice straight edge (just one - I don't worry about the rest for the time being) I don't bother to trim them, I just press them open and attach another scrap straight away (I usually chain piece these, otherwise it's way too annoying back and forth to the ironing board and cutting board).

Like this. This is now three pieces together. Now, I could attach another piece along one of the straight edges, perhaps like a log cabin, but that's not my aim - I want scrappier and more irregular than that, so at this stage I will usually trim one of the sides somewhat diagonally to create a more interesting attachment point - like this:

The offcut gets thrown out, unless it's quite large, in which case it goes back in the pile of pieces to be sewn. Sometimes I will add a fourth piece in a similar fashion without trimming diagonally:

And sometimes, instead of adding a new, fourth scrap, I will attach two pieces together at this stage, and get something a bit like this:

Now, obviously, that has no straight edge, so I need to trim it. How you do that is up to you. You can be quite frugal and trim straight and near an edge, or you can be a little more liberal if you like. I tend to trim a bit more liberally, as it gives a funkier block:

Don't forget, I am usually working with a whole pile of scraps at once, not just one, and many of them are at different stages in the process, so I tend to alternate between sewing two pieced units together and sewing a pieced unit to a new scrap. And sometimes, if I have them, sewing two new small scraps together to make a new starter. After a while - 20 or 30 units - I take them to the ironing board to press, then the cutting board to trim.


Here you can see I've chosen to join this piece to another piece of a similar size and then cut the straight edge across the top. I don't get TOO worked up about size matching, I just want something approximately right, so there's not too much wastage.
Sometimes, I will go to trim a block and decide that it looks too much like a log cabin (good in their place, but not what I'm aiming for here):

Or just too boxy, or the pieces are too big:

I solve these problems by slicing the block in half somewhat randomly across the diagonal:


And then putting the halves back in the pile to be stitched. As it happens, I didn't actually sew these two together, but you can see how much more interesting they would be joined to one another than as part of the same blocks as their respective other halves...
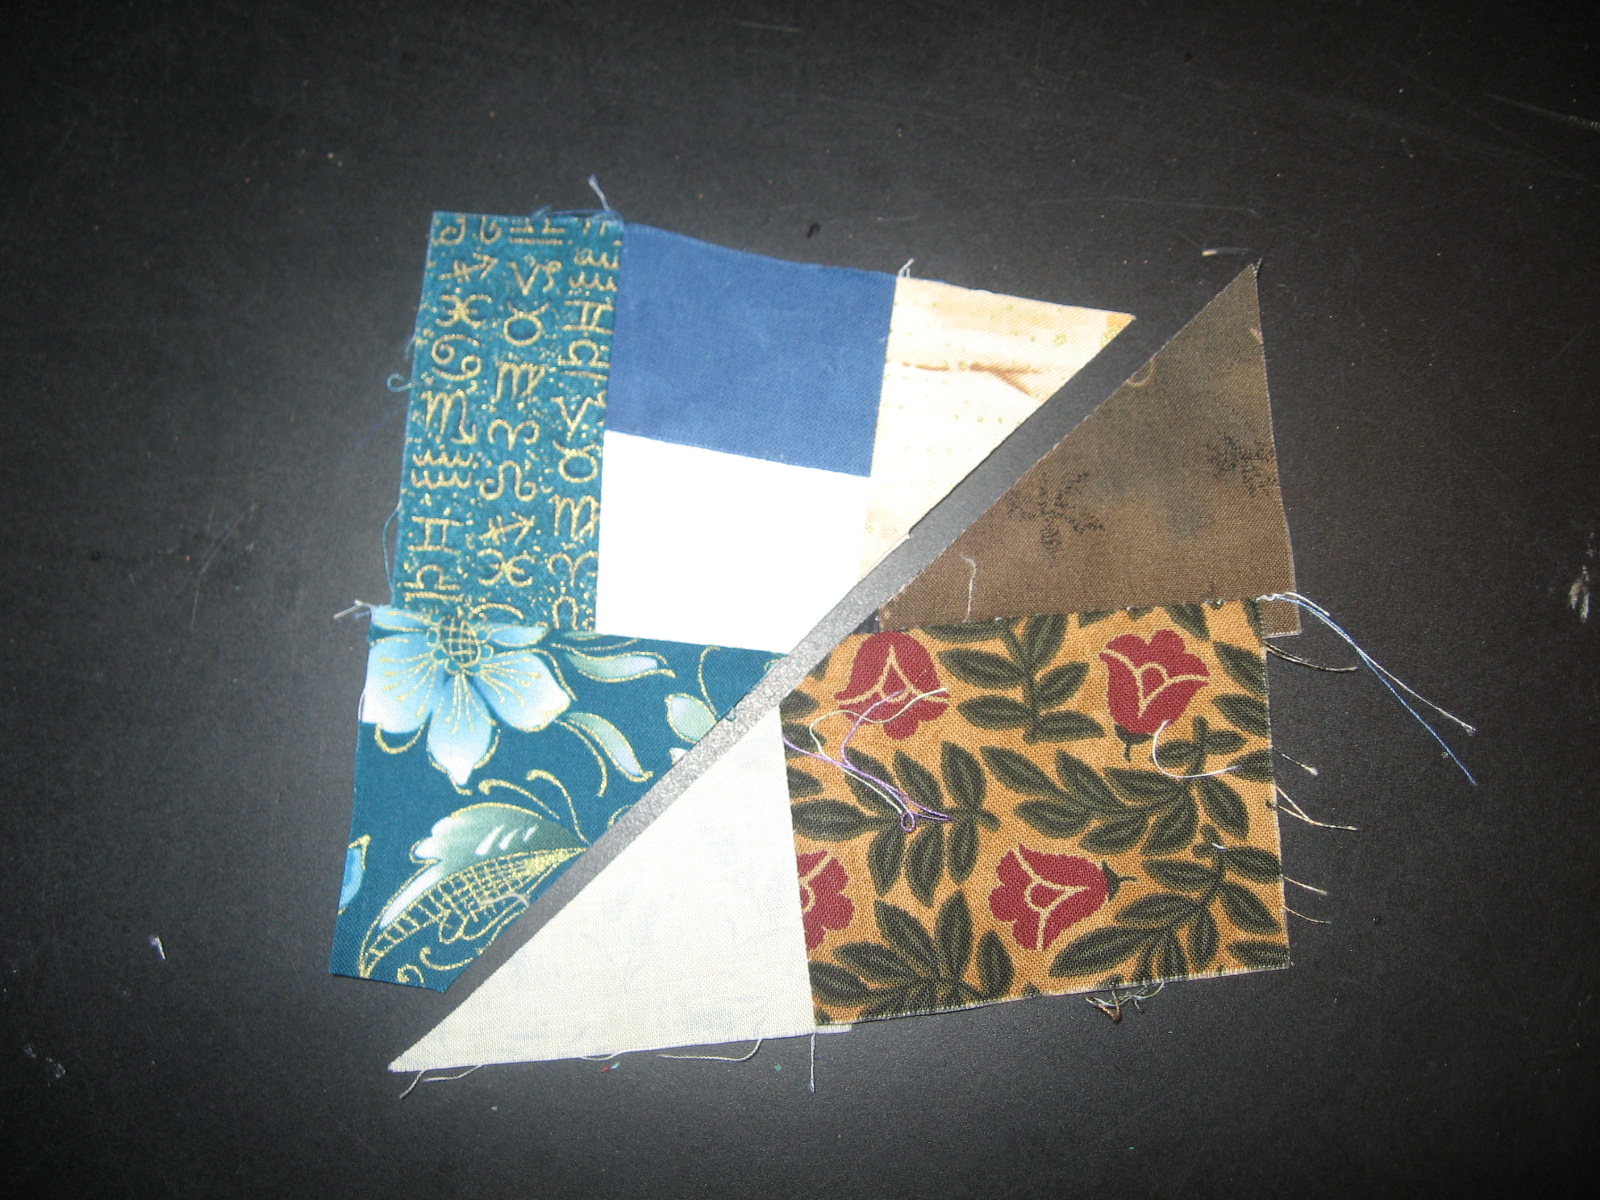
Sometimes a block is a little unbalanced or has a rather large (in proportion to the other pieces) piece on one side - I might trim it a little unevenly to compensate for this. Also, the angled cut will make the subsequent attachments more interesting.

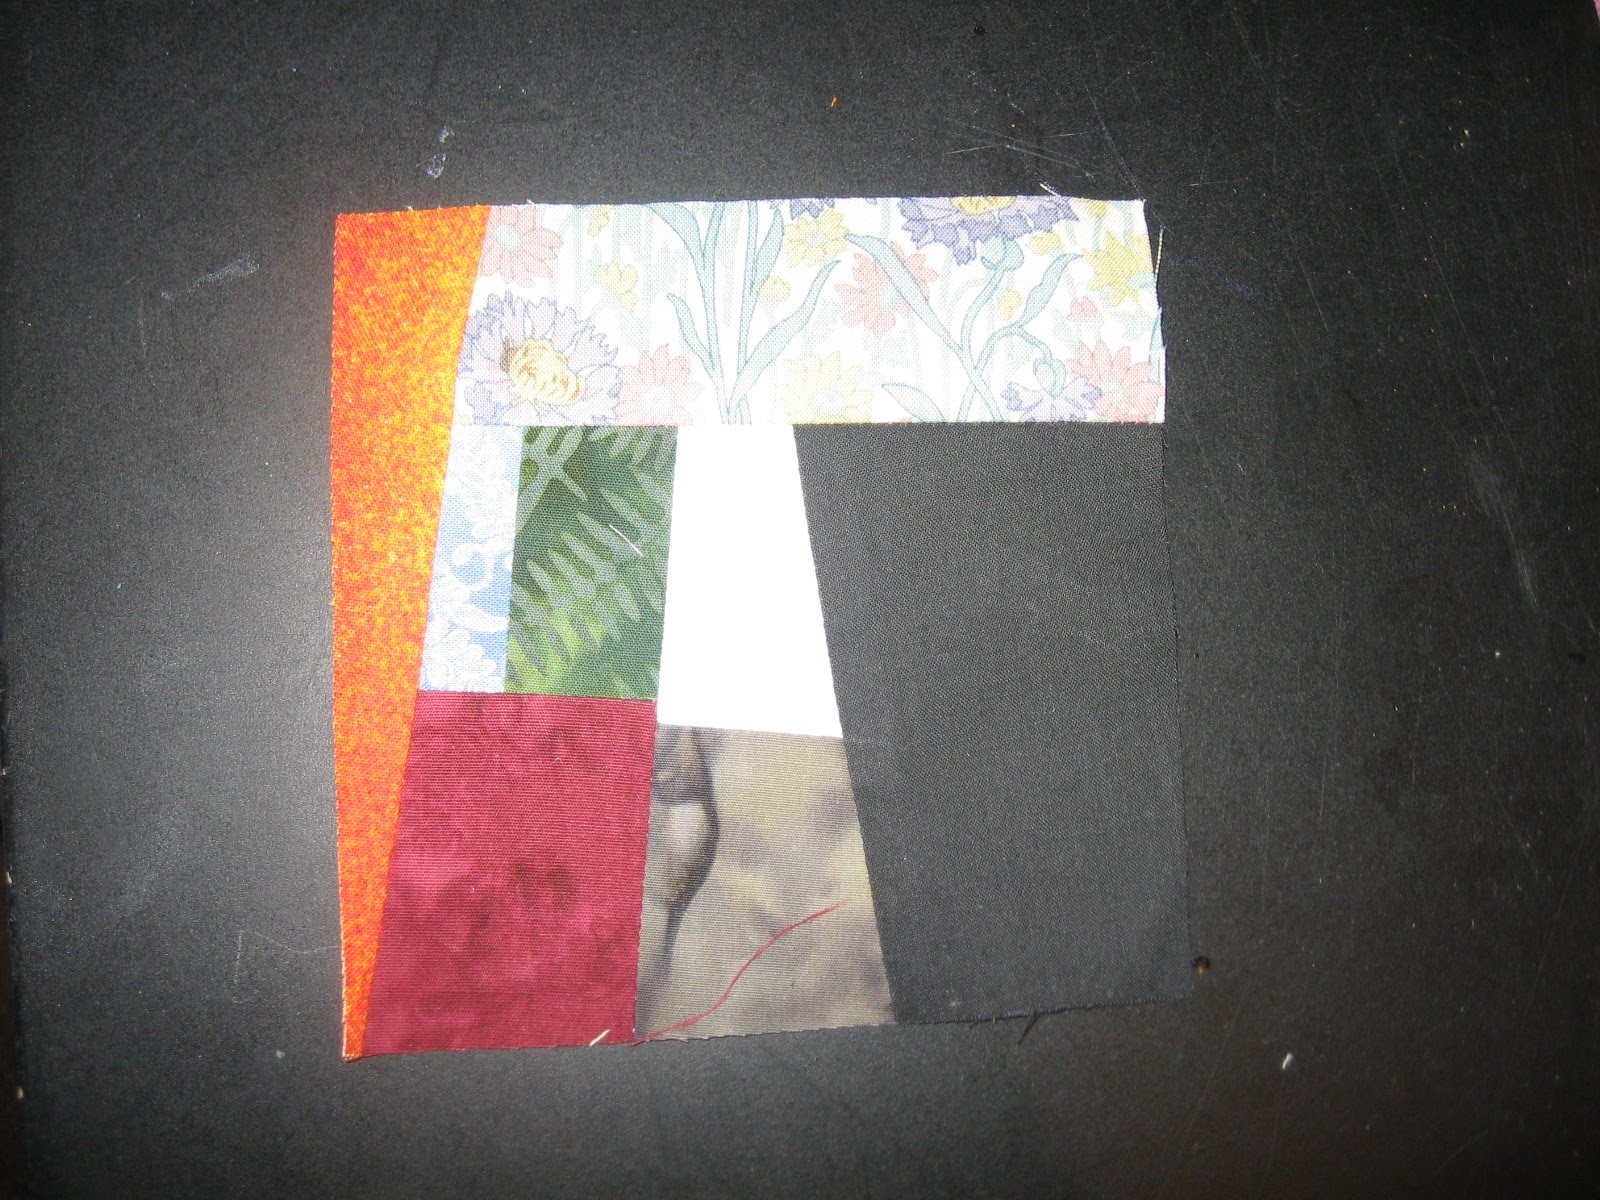
Sometimes, a block gets really big in one direction

and needs a little adjustment:

Here, both halves will go back in the pile to have more added (the left half is almost, but not quite, big enough to cut a 4.5" square from).
When it comes to trimming blocks from your larger pieces, you can do it however it works best for you - you can be very frugal and cut extremely close to one or two edges, which maximises the size of the offcuts - sometimes I do this, but sometimes I like to tilt the block more and just have more throw-away bits in the end.


With this block, I think all the offcut pieces were too small to use, except for the top one, which went back into the sewing pile.


This piece was cut more from the middle and less from an edge, but again, several of the pieces went back into the sewing pile - certainly the two side ones, can't remember about the top and bottom.
It doesn't matter if your pieced unit is quite a bit bigger than the square you plan to cut from it, as that simply produces larger offcuts, which go back into the sewing pile:


Sometimes, the offcut pieces produce the nicest/most interesting blocks,as you get lots of little tiny pieces in the blocks which you couldn't possibly otherwise sew - for instance in the blocks above and below:

Sometimes the pieces are a little larger, but they still all look nice.
Surprisingly, the seams aren't as bad as you might think - if you are careful to press them flat at each stage, they don't usually get too lumpy in the middle.
In terms of colour matching, I don't. I try to be as random as possible - simply taking the first piece of the right size to add to whatever I'm adding to. I do make some exceptions to this rule, trying to avoid adding a strip or piece of a given fabric directly to a block with another large piece of that fabric (I don't worry about this when joining two pieced units, just when adding new scraps to pieced units). I also try to avoid putting lots of black or white in one block as it tends to stand out.
One of the joys of scrappy blocks is that fabrics you would never dream of putting up next to one another actually look fine in a scrappy block.
So, if you've been thinking about doing something similar, perhaps this will help you on your way - happy scrapbusting and Happy 2011!
5 comments:
Great tutorial, Kate! It's interesting to see your process...
An excellent tutorial,Kate. I do a similar process which is like wonky log cabin but this gives much more scope. I'll put it on my list of things to do and hopefully use up some of the gazillion scraps that I've been hoarding for years! Best wishes for 2011!
Doreen
Very cool! I like your liberal approach. Happy New Year to you and yours xka
Wonderful tutorial. I also do enjoy scrap quilting. Nice way to get rid of some leftover materials.
Happy New Year to you and yours!
Love your crumb blocks. I've started trimming mine down with the GO and it is a huge time saver. It feels so good to use up all the bits.
Post a Comment