Sunday, May 18, 2014

It's easy being green


Those of you playing along with the Rainbow Scrap Challenge will know that May's colour is green...  So I decided to do some green things. Instead of just showing you the finished blocks, I thought I'd walk through the process as well...


Here's my box of green small pieces. I decided to search through my half-metre pieces to find something which was compatible with greens...


I pulled out these six, and decided to go with the one in the bottom middle - African animals and trees. Though I have plans for the one on the bottom right as well. 


I pulled out a bunch of greens to go wtih the African fabric, then decided what to do with it - I decided to alternate 6" squares with blocks made of 3" centres with green borders. 


So I cut as many 6" squares as I could (and the 3" ones to go with them) - here's what happened to that half metre of fabric - 13 6" squares, 12 3" centres, and some strips and scraps for the strip bag and scrap basket. A small handful of tiny bits for the bin, too!


After narrowing the greens down to 6 from the seven above (2 blocks in each fabric), and cutting strips, here's what's left - some strips for the strip basket, a few small scraps and the small pile of greens will go back into the green box.   And now, it's just a matter of assembling the blocks into a top and finding some border fabric for it.

Saturday, May 17, 2014

Sudoku Quilt


About a million years ago (ok, 6 1/2), Sarah started making some blocks for a sudoku quilt - but then things came up and she was busy and lost interest and so on.  In the move, we found the project and she said "Oh, I should finish that", so yesterday she made a few more blocks - all the pieces were cut out already except the sashing, so it wasn't hard to get back into it. The plan for which block goes where was there as well, which helped.   She only has two blocks to go now, and then the rest of the sashing. Perhaps we'll manage between us to get it finished this time!


Friday, May 16, 2014

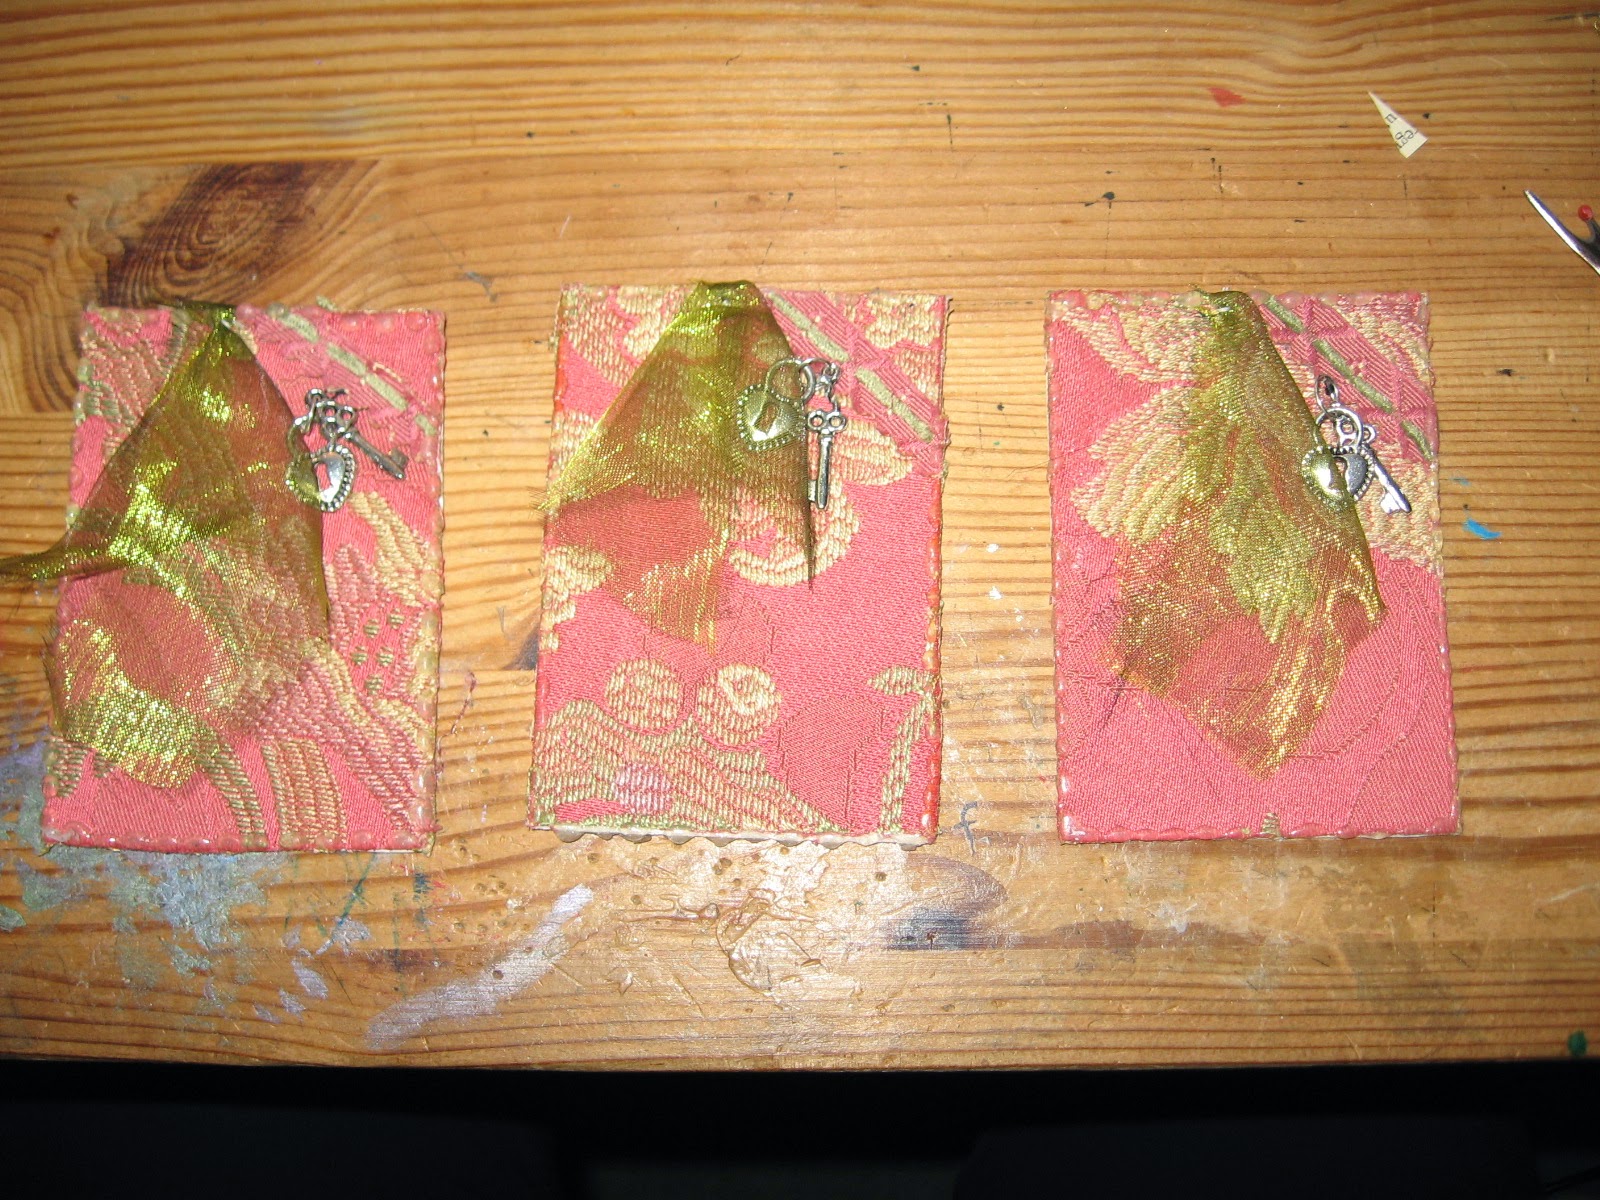
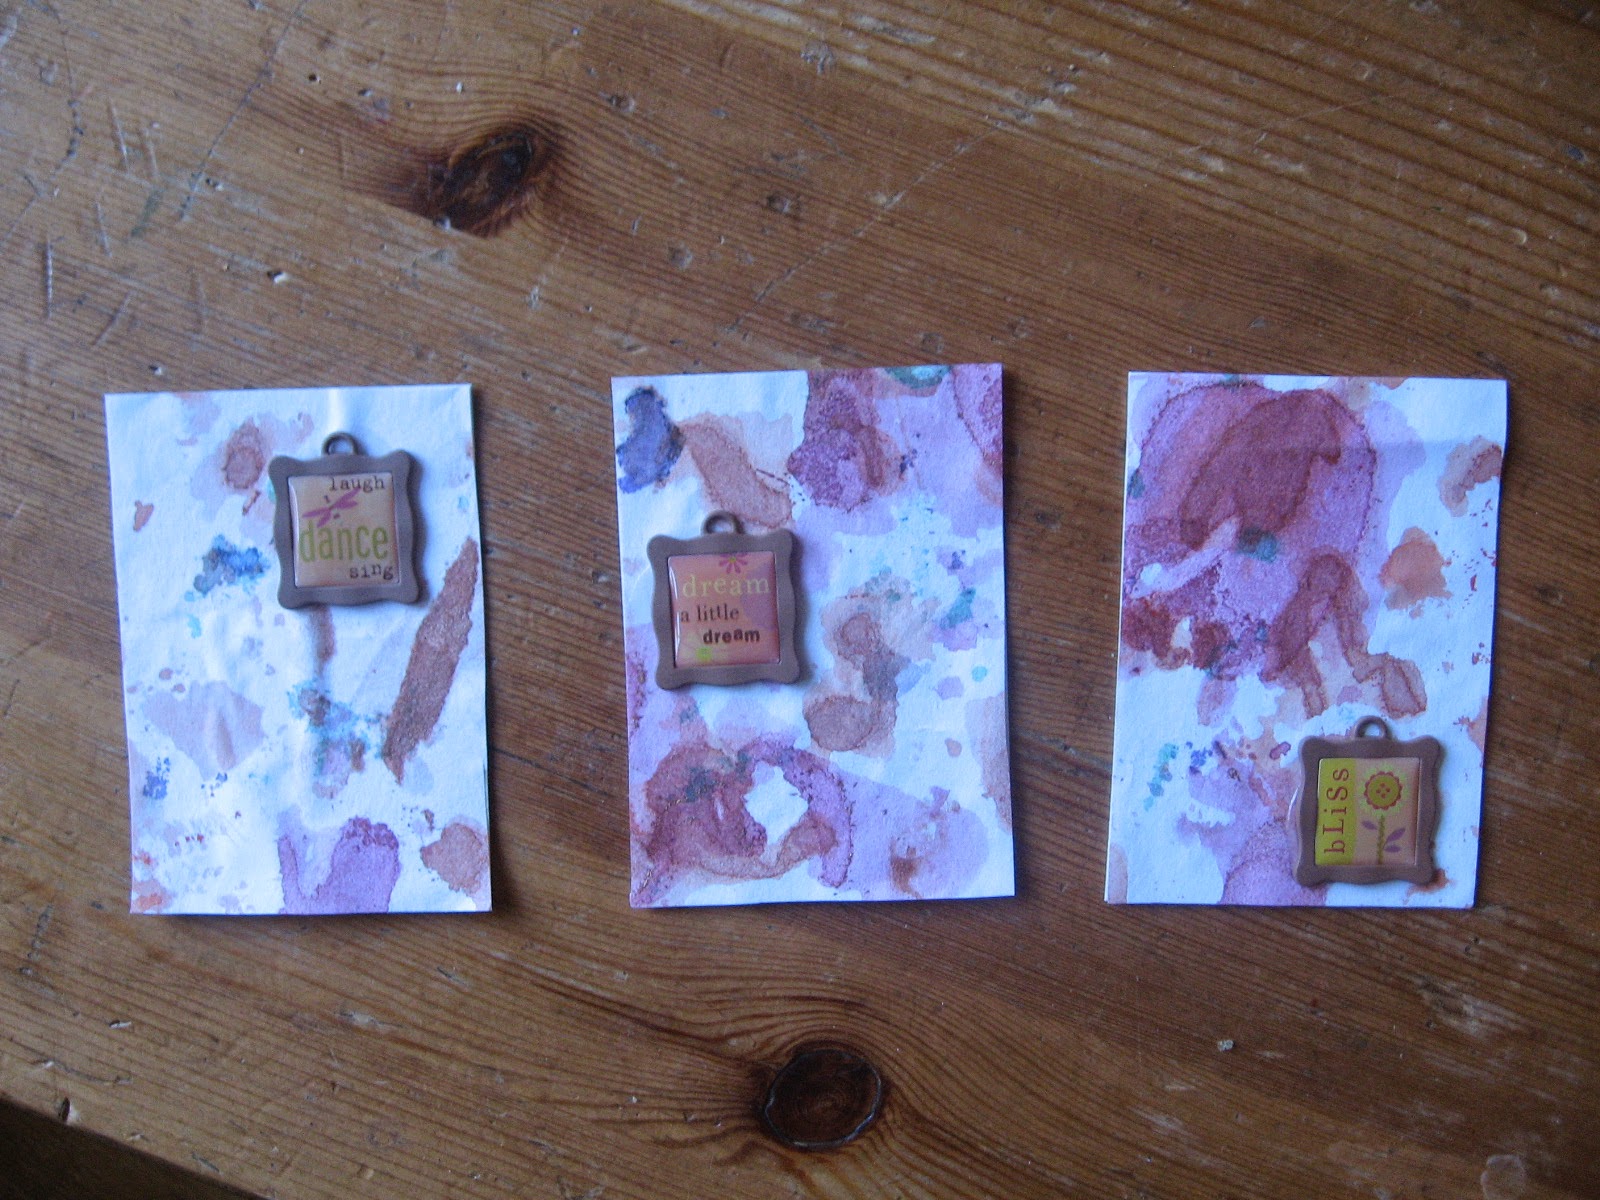
ATC Friday


More news from the world of round robins... Here are some more where I was the last person to add something.  To these, I added some flowers at the top. 


To these, I added some trim and a little brad.


And to these altered playing cards, I added some inking around a template (the one on the left, the ink was too heavy, so I kept that card for myself), a phrase and a little jewel.


Thursday, May 15, 2014

Jacobean border...


Here's another in the (rather big) pile of tops which I finished off and gave to Project Linus in and around the Easter Holidays. This one used a fabric from a kit which I bought ages ago, and then eventually decided I wasn't going to do anything with - makes a great border, though. 

Wednesday, May 14, 2014

Cross Stitch Update


Finished off both the current pieces: the Winter Garden piece (which shows up better in person)


and the Faith Sheep. Only a million or so sheep to go (ok, I think this is my 4th one, so I guess 8 more to go. But they do seem to be endless...)

I've started something new for next week, but I'll show that next week. I might add another one into the rotation as well, rebel that I am!

Tuesday, May 13, 2014

Ramona's finish


A while back, I gave a bunch of quilt tops to folks who were interested in finishing them up for charity or other good causes; my blogging friend Ramona took two of them, and has already finished one up!  She's a lot speedier than I would have been...  Be sure to click through to her blog to see details of the great quilting on this one.  I look forward to seeing the second one finished, too.

Monday, May 12, 2014

A bunch of faeries...


Here's another recent assembly, from my stack of assembled tops - I got through so many during the Easter holidays, that I have a backlog to blog. Which is nice, as now that I'm no longer on holiday, I don't have so much time for sewing!

Sunday, May 11, 2014

Sewing machine cover


Here's my first project completed in my new work space - a cover for my sewing machine. This is something I've been meaning to do for a while, using this little quilt:


which looks fine from the front, but on the back, you can see where I caught up the backing, folded, when quilting it.


I bound it anyway - didn't want to unpick the quilting as it was quite dense - and decided I'd use iti for something around the house. A few years ago, I came across it sitting in a basket, waiting, and decided to make a sewing machine cover from it.  And now, finally, I have.

Saturday, May 10, 2014

New work space


I may have lost my sewing room, but I still have a space to work (and I've had an amazing clearout of my stuff - feels very refreshing!).  Here's my workstation (which is also big enough for someone to use a laptop here whenever I'm not sewing/crafting.   You've seen photos before on this blog of the storage, but in addition to what's built in, I've got part of a bookcase...


[Some of this is mine, like the 2 smaller of the 3 matching baskets, which hold the mending pile (that's the full one) and the scrapbasket (the smaller, emptier one) - the third, largest one, has greeting cards, envelopes, stationery in it. On the bottom shelf, half the stuff is mine - two magazine files and my strips and orphans bags - it's a new strip bag, the other one was tearing. This one is shiny and gold...  The rest of the stuff on that shelf is Sarah's GCSE revision stuff (or rather, a small part of it - it seems to be taking over the house.]


And also, I've got a whole bookcase, which has my ATC collection, my quilt/art books, and all the books I use for doing art with. In all, it works pretty well. Tomorrow I'll test out the workstation and see if that works well, too.  Now if I can just remember where everything is...

Friday, May 09, 2014

APC Friday


Today's featured ATCs (Altered Trading Cards) are actually APCs (Altered Playing Cards) - these are the 7s which I did for the ongoing swap in a butterfly theme. It's been challenging to make each set of cards different from the previous number.  Only a few more to go, then the entire deck will be done. Hurrah!

Thursday, May 08, 2014

Found...


This little piece found at the bottom of a pile of miscellaneous bits and pieces - now I will have to find something to do with it - most likely some borders for a Project Linus top, though it's quite small, so I might check the size requirements for the Special Care Baby Unit and if it's small enough, quilt it up for that...

Tuesday, May 06, 2014

The last scrap basket update (sort of)


When I move from my sewing room to my new workstation, there won't really be a convenient place for this basket, which I've been using as a scrap basket for years.  So this past weekend, I started getting rid of the scraps in it, cutting them to square (or sorting strips)...


Eventually, after lots of trimming, we have some piles of squares in varying sizes to go in my little squares drawers.


And an empty basket to use for something else. (Holding magazine in the living room, I think.)


And of course, a scrap basket replacement, as I can't do without entirely. This one will fit on the work surface, or perhaps in time, on a shelf in a cupboard, if I get rid of a shoebox of UFOs or two (I don't have that many shoebox projects - most of my "UFOs" are either tops waiting for borders or to be quilted (or donated) or sets of blocks waiting to be assembled into tops.  You can see, there are scraps in it again already!

Monday, May 05, 2014

Blue Block Lotto


And, having put together some winning block lotto blocks, here are a new batch of blocks to submit to the lotto. Just six this time, as that was what I had time and easily located fabric to make. A great, simple block - definitely one to keep for inspiration in clearing the stash...

Sunday, May 04, 2014

Double Chevrons


These are blocks I won in the Block Lotto a few months ago. I didn't use quite all the blocks I won (36 - I used 32 in this layout) as I decided that this was the layout I wanted. So I chose the ones which fit best in colour. For instance, one of my own grey blocks was too yellow a grey compared to the others and stood out. Another block had a white background which was a little creamier in colour than the others - again, it stood out. And so on. Those blocks will go in my orphan bag, though, and head off to Project Linus to be used in quilts there, so they'll be happy in their new home, I should think!  Now I just have to decide if it wants a border or not. Probably, but no idea what to use with it - it's fairly large already...

Saturday, May 03, 2014

And so it begins...


We've been talking for a long time about redoing the downstairs, turning my sewing room into a bedroom for one of the kids and creating some new work spaces downstairs. As I am working full-time again, it's not really worth having a room just dedicated to my crafting... We finally bit the bullet and started the work back in March. It's beginning to get to a useful stage, though not quite done yet - another week or so!  

So, I've begun the (not inconsiderable) task of moving all my craft stuff to the new storage areas. Not all of the task can be done yet, as it involves putting book cases back in the rooms and either putting things on bookcases, or moving things back onto bookcases which are in places where I intend store craft stuff, but things which are going to go in the new cupboards in the computer room, can begin to do so.  Here's one set of stoage stuff -not quite filled yet, but getting there.  The intention in time is to decoupage all the old wooden drawers you can see covered in tatty labels.  But not straight away.  This cupboard is a mix of stuff - mostly not fabric except for my scrap squares drawers (the purple boxes - it's a side-on view) and the basket, which holds my sets of blocks waiting to be put into tops.  Below is what it looked like before...


Under the left-hand desk (which is the desk my sewing machine will sit on, eventually) is where fabric yardage is going to live. There's space for other things in here as well - I think project boxes for ongoing things. These will probably be shoeboxes to start with!  The yardage doesn't actually take up that much space (top shelf is 2+ metres, second shelf is 1m pieces on the left two stacks and 1/2m pieces (approx) on the right hand two stacks). 


These are the cupboards and drawers on the right-hand side of the chimney breast, and will mostly feature fabric, in boxes by colour:


Again, there is a little more space for things, though not much. I'm sure I'll fill it. The drawers are quite shallow, so will hold a lot of small things, like my collection of small boxes of little bits of stuff for art cards.

The drawers and shelves (not pictured) under the right-hand desk/worksurface (which is probably where a laptop will go, most of the time) will mostly have office-type supplies in them, rather than sewing and crafting stuff.


Most of the rest of the sewing/crafting stuff will go in the living room, much of it in these boxes and baskets.  Some of it will go in some baskets in a different unit in the living room - these are currently full of displaced things from the other room, so can't be filled with quilt tops, etc. And some of the stuff I don't use much, e.g. non-quilting fabrics will either be got rid of, or be stored in the top of my bedroom cupboard or under a bed or something. There's not a lot of that type of stuff, these days. There will also be a bookcase for all my quilt/craft books.  I think it will work. There's a lot of stuff to put in the computer room, but with all the shelves behind cupboard doors, it shouldn't make it look too cluttered.

Friday, May 02, 2014

ATC Friday


Another group of Artist Trading Cards, done as round robins...  Here's the finished card, above, and what I sent out originally, below.


Starters above, finished below.


And these, which were being worked on near Christmas and New Years, ended up with a nice holiday theme - fun!


Thursday, May 01, 2014

Less black


As part of the ongoing effort to reduce (a little) the amount of black in stash, here are some very basic striped blocks in neutrals and blacks. 


Did it work?  Well, sort of - above is the box before (the lid would barely close) and here's the box, after...