Showing posts with label tutorials. Show all posts

Sunday, April 17, 2016

Scrappy bias binding


I mentioned yesterday that I was going to have a go at making a scrappy bias binding to go on the Woodland Baby Quilt I've been working on. After a little browsing around on the web, I decided to have a play and see what happened.  First I cut some strips of my scrappy fabrics - these are the same fabrics I used in the body of the quilt, as the borders of the little squares. I worked out that I needed to start with a 20" square in order to make continuous bias binding (calculate the length of binding needed, in my case approx 176 inches, multiply by width of binding - 2.25" for me - then find the square root of that for the length of the sides of your square - mine came out to something like 18.9 - hence, 20"), so I cut an appropriate number of strips in the right width.

This is really not a tutorial - there are some good ones on the web if you want one - just a little commentary on what I did.


I sewed these together, realised they weren't quite wide enough, so added another strip of a different fabric I used to make up the difference.


Once I had a square, I cut it in half along the diagonal. 


And then stiched the two halves back together to make a rhombus/parallelogram/whatever.  After that, you turn it over and mark your strips in pencil along the back. I hate this part, and was reminded why I don't normally make continuous bias binding.


Once that's done, you line up the edge of one side of the fabric with the first drawn line on the other side and stitch it together to make a tube.


You then use scissors to cut on the line to make your strip. It's a very clever method, if a bit fiddly. With single fabric binding I would never, ever bother. However, the effect achieved for this scrappy binding might just about be worth the effort...


Once it's folded and pressed, you can see I've got loads of changes in the fabric; there's no way I'd make French fold binding with this many pieces, that's for sure.

Saturday, March 24, 2012

Pinwheels instructions


A while back, Meredith asked about instructions for this block - unfortunately, her comments are set to no-reply, so I have no way to email her back, but perhaps if you're reading here, Meredith, you'll still be able to see this!

I don't really have a patter for this, per se, but it's easy to do.  What you need for each block is 8 rectangles 2.5x4.5" of the background fabric and 4 squares 2.5x2.5" of the pinwheel fabric.  Then you use the stitch across the diagonal method with half the rectangles and all of the squares - i.e. draw a diagonal line across the centres of the squares, place the square right side to at the top of one rectange and stitch across the diagonal - you can then trim and press so you have a rectangle with a triangle top - one "leg" of the windmill. Make sure you do all four with the same direction on the slant of the diagonal.

Then, just join one of these pieced rectangles to a plain rectangle and then join the resulting four square pieces into a windmill piece. It's all very straightforward and easy...  Hope that makes sense!

Monday, July 04, 2011

Tote-orial


So, the time of year to give presents to teachers has come again, and pinching (and modifying) an idea from Cathi, who made patchwork baskets (though she hasn't blogged them yet), this year I decided to sew something. Not patchwork baskets, though, as there are 5 gifts required - teacher and TA in two classes, plus an extra TA in Olivia's class who mainly supports one of the other students, but who Olivia is very close to (and anyway, it would look stingy to give gifts to the others and not her even if that weren't the case). So, something quick and easy and which can be done with materials already on hand. The answer... totebags! Not much is quicker or simpler, particularly if you have some bag strapping, but even if you don't, it doesn't take that long. This sushi-themed tote took me about half an hour, and I was carrying on a conversation with Alex at the same time, so I'm sure it would have gone faster if I hadn't had that extra task... The sushi bag has handles made from fabric, too, so if I'd had some suitable handle strapping, another few minutes could have been shaved off.

I didn't decide to do a tutorial until the second bag, though, so the photos will be of that, not the sushi one. There are almost no measurements in this tutorial, as you can adapt the method to suit the size and shape of bag you want to make. It should still be fairly easy to follow along - I hope so, at any rate.


To begin with, you will need two rectangles of fabric - one for the outside of the bag and one for the lining. They don't have to be quilting cotton, though most of mine are because that's what I have lying around. I do recommend the lining fabric is something quite thin and easy to work with, even if you choose something a bit thicker for the outside of the bag. The rectangles should be approximately twice the size you want the finished bag to be, so that you can fold it in half to achieve the finished bag shape. It doesn't matter which direction you double it, though. [So for instance, let's say you want a finished bag which is approximately 18 inches deep and maybe 12 inches from edge to edge along the top when laying flat. You could start with a rectangle which is 18x24" and fold it in half along the 24" side OR you could start with a rectangle which is 12x36" and fold it in half along the 36" side. The only difference in the end is that you will have a seam down one side but none along the bottom if you choose the former and along the bottom but not on either side if you choose the latter. If you have a directional fabric, it will obviously make a difference what you do! You could also start with two pieces and piece them together (for instance if you wanted to use up smaller bits) - so that two pieces which were each 12x18" could be joined together. I think you get the picture!]

In addition to your two rectangles, you will also need something for the handles. In this tutorial, I happened to have some strapping for bag handles, and just used two lengths of that - the handles should be approximately 2" longer than you want the finished straps to be. If you don't have any strapping, you can make your own handles by using a long strip of fabric twice the width you want the finished handles to be (for the sushi bag I think I used a piece about 4" wide). Make a tube of the fabric by folding it in half the long way, seaming it, then turning it inside out - don't make it too narrow or not only will it be uncomfortable as a handle, but it will be the very devil to turn! You will need to make two of these tubes, again approximately 2" longer than you want the finished handles to be. If you like, you can press the finished tubes and top stitch them down both sides to make them lie flat - that's entirely up to you. It looks a little nicer in some cases, but it won't affect the functionality much. You can also pad them with scraps of wadding to make them more comfortable, but that's a lesson for another day...

Here are my two rectangles, folded in half to show the finished bag size - the blue floral will be the outside and the gold fabric, the inside.


You are now ready to begin sewing. Whew!


1. Step one is to stitch both rectangles into pillowcase shapes. So for my bag, I folded the fabric in half, right sides together, so the folded side will be at the bottom of the bag, and stitched up both sides. For the sushi bag, I worked the other way (as it's directional) and folded it so the bottom and one side were seamed and one side, folded. Do the same for the lining, EXCEPT for the lining, you will need to leave a small gap (approx 4-6") in one of the seamed sides or the bottom - doesn't matter which as it's for turning and it will be sewn up later.


Hopefully you can see my gap in the above photo!

The next bit is the tricky bit - or rather, it's not that tricky to do, but it's very tricky to describe it in words. I have taken a short video which sort of shows it- hopefully I'll be able to link to it on YouTube shortly as blogger doesn't want to upload it for some reason (very hard to video oneself doing something with one's hands...) but will try to put it in words, too. This is where you make the corners at the bottom of the bag, so that it's actually like a bag and not like carrying your stuff around in a pillowcase.

What you want to do is this. With the bag (or lining) still wrong sides out, grab the tip of one of the bottom corners of the bag and pull it into a triangle shape so that the side seam (or fold if the side isn't seamed) runs vertically through the point of the triangle. Lay it as flat as you can on your work surface to do this - it won't be totally flat as you move away from the tip of the triangle as the shape of the rest of the bag doesn't allow that, but that doesn't matter as it's only the tip of the triangle we are concerned with. Make sure it's evenly balanced so the seam is down the middle or your bag will be wonky.


This is what your corner should look like at this point.


Now you want to stitch across the tip of the triangle - how far down is up to you and will change the width of the bottom of the bag. The only important thing is to make sure you do all four corners (bag and lining) the same distance. I usually simply line up the tip of the triangle with the edge of the plate on my machine - then it's easy to eyeball it. I usually run back and forth across this seam 3 or 4 times for strength. Do all four corners - both on the bag, both on the lining.


Here's what the piece will look like after you've done this to both corners. This is the lining, still inside out, with pointy eared bits from where I've formed the corners.


Next, snip off the tips of the corners to get that extra fabric out of the way.


OK, handle time! Working with the outside of the bag (i.e. not the lining), turn it so that it is rightside out and lay it flat on the table with the seams lined up down the sides evenly. It's time to position the handles. Where you put the handles is up to you, but you don't want them too close to the sides of the bag, or too far towards the centre or it will be awkward to carry. I usually do mine about as you see here 1.5" to 2" from each edge. Pin one handle onto one side of the bag (don't pin through both layers!) with the handles going down as shown in the photo - they will miraculously end up the right way around once you have turned the bag, don't worry. Be sure not to twist the handle. Leave the loose ends of the handles protruding by a little bit - sticking up over the top of the bag - this is for added strength later when using the bag. If you are using made handles from fabric tubes, it's just the same. Then turn the entire piece over and attach the other handle to the other side, making sure to line it up with the first handle so they are even.


It's now time to make a bag sandwich. Keeping your bag outside with the right side facing out and the lining with the right side facing in, and being careful not to move the handles, put the bag outside INSIDE the bag inside (slip it right inside the pillowcase shape of the bag lining) and even up the edges. At this point, you can carefully move the pins to also grab the lining layer - don't move their location, just add that extra layer of fabric in. Be sure that the bag handles are pushed well down inside this bag sandwich so they won't get in the way when sewing. I also usually pin the side seams together and sometimes another pin or two at the top edge, depending on the size of the bag and other factors like the slippiness of the fabric.


Here's a photo of the bag sandwich - before I moved the pins to the current outside of the sandwich - i.e. the sewing surface. As you can hopefully see, the right side of the bag outer is touching the right side of the lining; the wrong sides of the bag outer are touching one another and what you are holding is the wrong side of the lining. Clear as mud? Trust me, it's much easier when you actually have it in front of you. It is very important that you get it the right way around, though, or your bag won't come out right when you turn it.


Easy step now. Stitch around the top of the bag, all the way around (be sure to only sew through two layers & one set of handles at a time!) . I usually go around at least twice, for strength, and often I do an extra backstitch and forward stitch across where the handles are attached. While stitching make sure the handles remain down inside the bag out of the way and don't get caught up in the sewing.


OK, you should now have this weird sandwichy thing, inside out, with the handles inside. This is where the gap you left in the side or bottom seam comes into its own. Open the gap, reach into it, and carefully pull the bag through, turning the lining right side out as you pull the outside of the bag through, like this:


At this point, especially if it's the first time you've ever made a bag this way, you will go "Oh, I get it" as you see the handles emerge - it really does seem like it's never going to work until you get to this point!


Here's the entire bag pulled through and flattened out.


But before you shape it into a proper bag, you need to quickly stitch up the gap in the seam where you pulled it through. This gap will either be in the side or the bottom of the lining. I just topstitch it neatly as it will be in the lining and will barely show, but if you are really worried, you are free to stitch it however you like!


Now you can finish tucking the lining inside the bag and pushing the corners out, etc. In theory, you could stop at this point, I suppose, but I never do - for better looks and stability, it's worth taking just a moment more to topstitch around the outside of the top edge of the bag (you may wish or need to press the bag before you do this, depending on your fabric).


The topstitching, as I said, not only helps keep the lining inside and the handles in place, but it makes the bag lay flatter and look nice:


Number two bag of five! This one still took under an hour, even though I had to keep stopping at every step and work out what to photograph. In fact, it's taken me far longer to write this tutorial than it would have to go upstairs and make another bag...


Friday, February 18, 2011

Postcard Display Unit - How To


A number of people have commented about this display unit, which I showed the other day full of seasonal postcards - several even asked if I'd mind if they used the design to make something similar for themselves - of course I don't, as I actually adapated the design from my advent calendar anyway. Back when I made the postcard holder a million years ago (aka 2007), I posted instructions on how to make one for yourself, so do feel free to check that out and save yourself some of the figuring out!

Thursday, January 20, 2011

String Heart Tutorial


A while back I mentioned that I was going to write up some instructions about how to do the string heart blocks - given that I made this decision about halfway through making them, I don't have any instructions for the very first part of the process - making the string pieces. But I think everyone can probably work that out - it's just some rectangles stitched together to make another rectangle...

Anyway. For the heart blocks, first you want to work out what size you want your finished blocks to be. I chose to make 8" blocks (8.5" unfinished), so for each block I needed two rectangles, 8" (8.5") x 4" (4.5") - you can obviously make your blocks any size you choose.

I decided to build my string blocks quite straight - so that all the stripes of the strips were parallel - but that's not required - if you want to make your blocks with wonkier strings, or diagonal strings, or vertical strings, go for it. The block which I saw on Sophie's blog which inspired me originally was done in a more liberated style and looks fabulous, so I'm sure whatever choice you make, it will work.

Once you have your basic rectangles, you are ready to start turning them into hearts.


For each heart half, you will need one square of background fabric the width of your rectangle, or narrower. If you use a square the same width, the bottom of your heart will meet in a sharp point - I decided I didn't want a sharp point, so I used a 4" square on my 4.5" wide strip. You will also need two squares of fabric half the width of your strip, or narrower. If you use ones which are exactly half the width, the top of your heart will be pointy. In this instance, I have used 2" squares.


First step is to line up your larger squares with the bottoms of your rectangles, and stitch across the diagonal. For each heart, you will need to sew one square on from top left to bottom right and one from top right to bottom left. If you are using squares which are narrower than your rectangles, be sure to line them up correctly, like I've done here.


If you want to, you can sew a parallel line to the one across the diagonal, so you can cut away the waste triangle and use the resulting half square triangle unit for another project. But you don't have to, that's up to you.


Here's what the units look like once I've cut away the waste triangle units...


...and pressed them.


Now you are ready to add the top squares to make the top of the heart - looks like I missed a photo in the process, but it's the same as before - line a square up with each top corner and stitch across the diagonal. This time, you are doing both corners, so it doesn't matter which you do first, as long as you stich across the diagonal which goes across the corner. Here they are are trimmed and pressed


Then, repeat on the other side - line up a square, stitch across the diagonal,


Then press open. If you are more thrifty or more crazy than I am, you can do the same thing here that I did with the bottom and turn the waste pieces into more useful scraps, but I'm not that serious about my scraps!


Here's the two halves, with all the background pieces sewn on now.


All that remains is to stitch the two pieces together to make a heart - hey presto!

Friday, December 31, 2010

Making scrappy blocks

Well, I made some more scrappy blocks today, and as so many of you have commented on the blocks in one way or the other, I thought I'd share my method (such as it is - there's nothing very formal about it!)

The very first thing I do, which I have no photo of, is grab a handful of scraps and sort them into piles - larger scraps to file elsewhere, big strips (again, these go elsewhere) small strips, small scraps (2-3"), very small scraps (1.5" or so) and impossibly small scraps (which go in the bin straight away). I then grab two small scraps - many of which are triangular or irregularly shaped - and join them together. These here are a little larger, but I didn't think to take photos until today, and most of the small scraps are gone already (yeah!!):


As long as the pieces I have joined have a nice straight edge (just one - I don't worry about the rest for the time being) I don't bother to trim them, I just press them open and attach another scrap straight away (I usually chain piece these, otherwise it's way too annoying back and forth to the ironing board and cutting board).


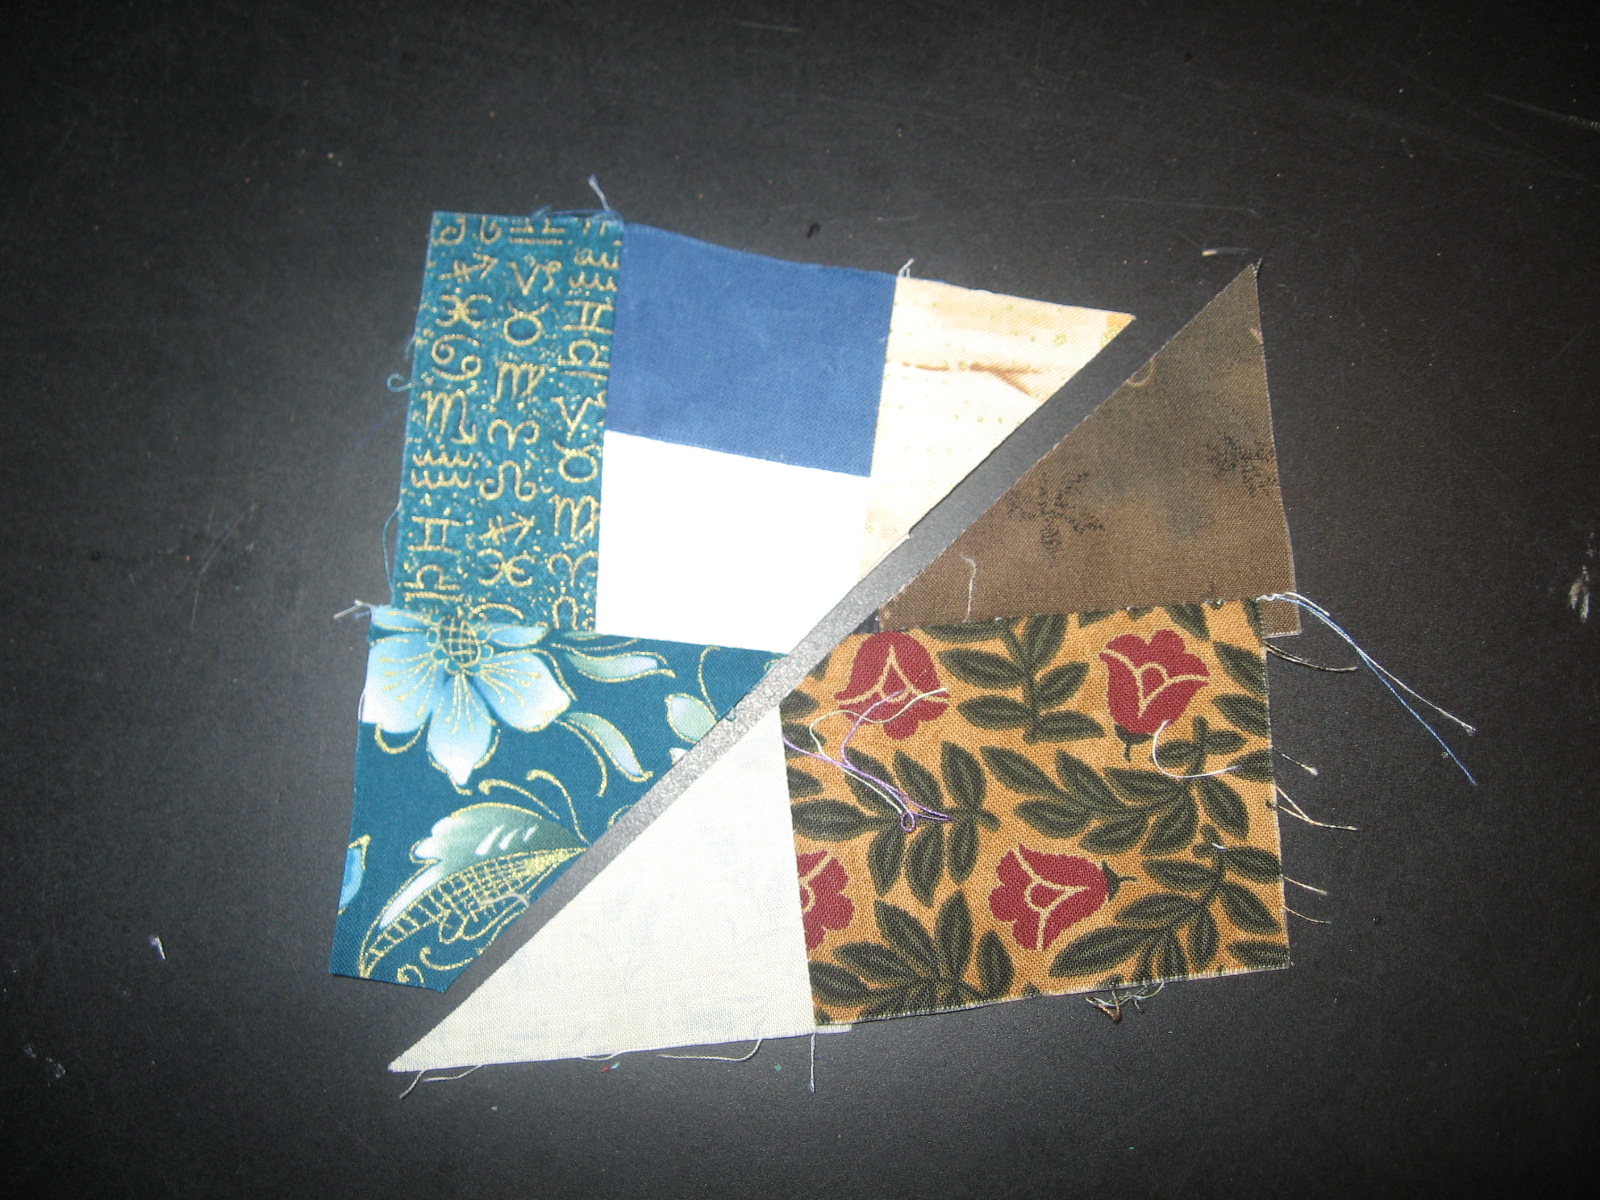
Like this. This is now three pieces together. Now, I could attach another piece along one of the straight edges, perhaps like a log cabin, but that's not my aim - I want scrappier and more irregular than that, so at this stage I will usually trim one of the sides somewhat diagonally to create a more interesting attachment point - like this:


The offcut gets thrown out, unless it's quite large, in which case it goes back in the pile of pieces to be sewn. Sometimes I will add a fourth piece in a similar fashion without trimming diagonally:


And sometimes, instead of adding a new, fourth scrap, I will attach two pieces together at this stage, and get something a bit like this:


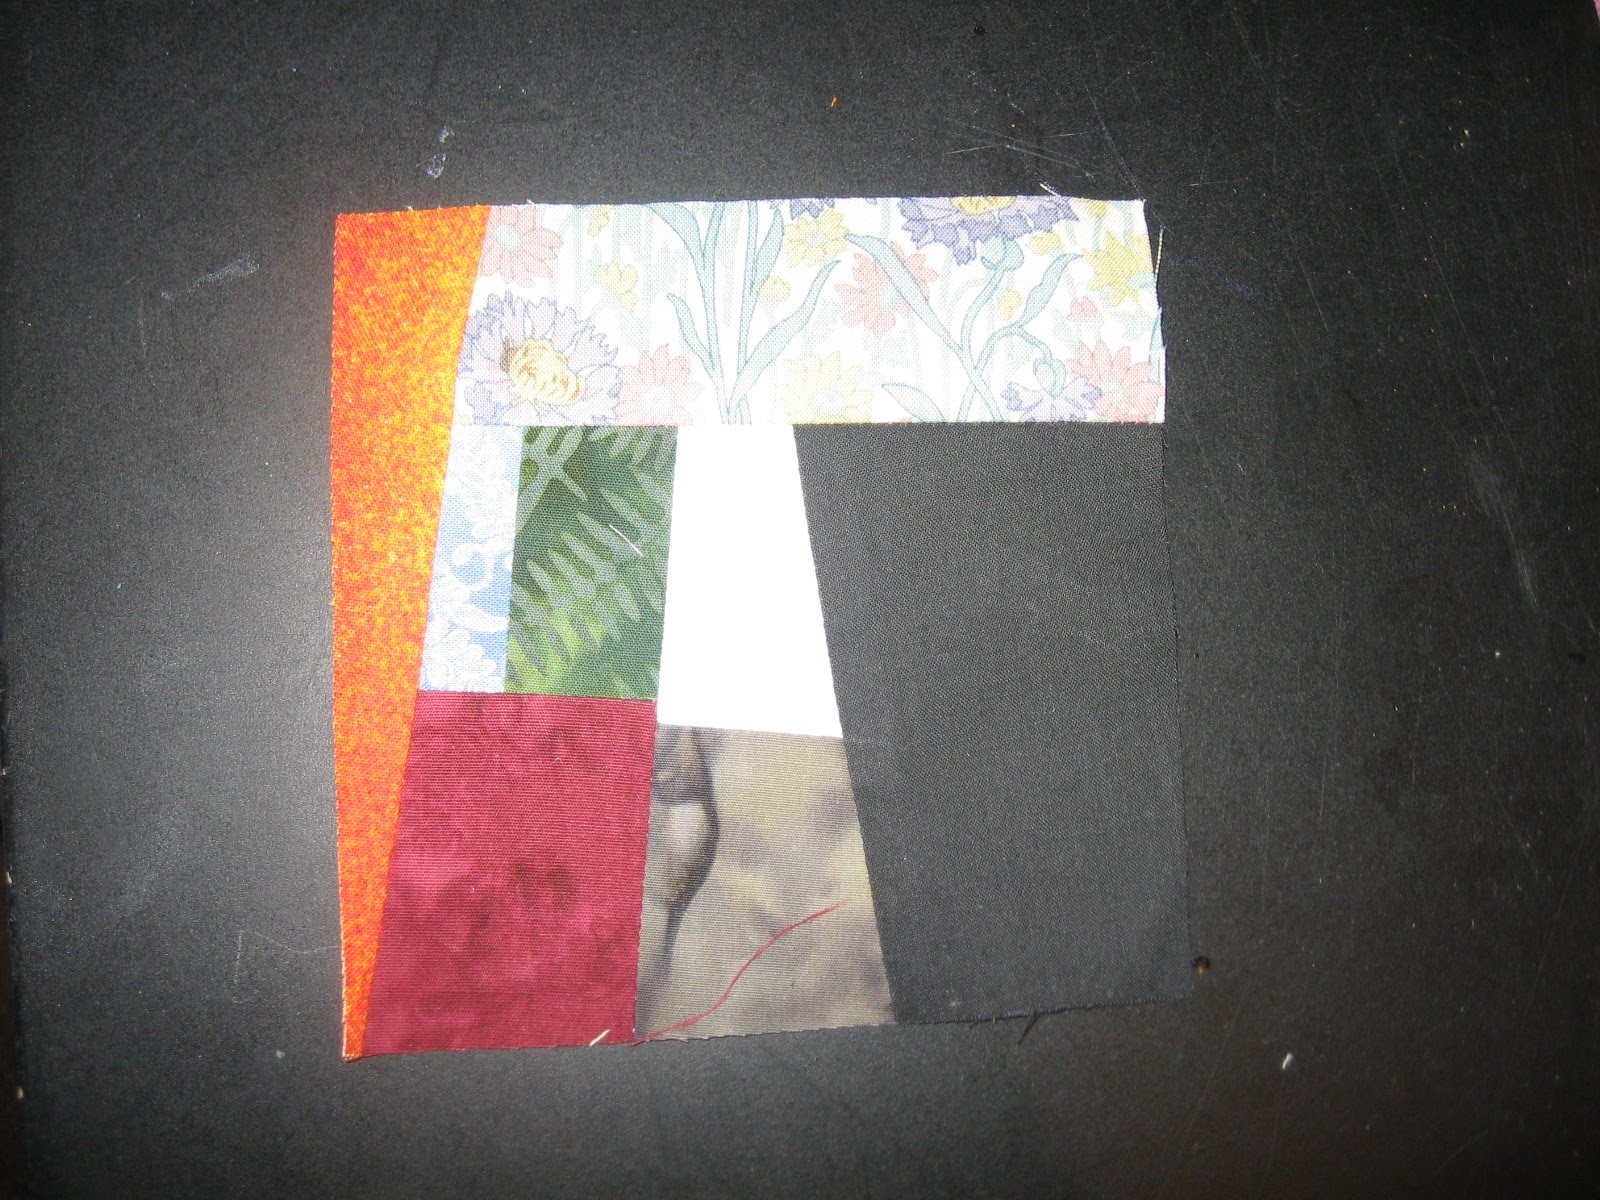
Now, obviously, that has no straight edge, so I need to trim it. How you do that is up to you. You can be quite frugal and trim straight and near an edge, or you can be a little more liberal if you like. I tend to trim a bit more liberally, as it gives a funkier block:


Don't forget, I am usually working with a whole pile of scraps at once, not just one, and many of them are at different stages in the process, so I tend to alternate between sewing two pieced units together and sewing a pieced unit to a new scrap. And sometimes, if I have them, sewing two new small scraps together to make a new starter. After a while - 20 or 30 units - I take them to the ironing board to press, then the cutting board to trim.
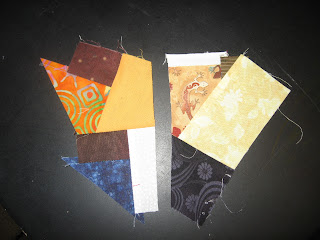


Here you can see I've chosen to join this piece to another piece of a similar size and then cut the straight edge across the top. I don't get TOO worked up about size matching, I just want something approximately right, so there's not too much wastage.

Sometimes, I will go to trim a block and decide that it looks too much like a log cabin (good in their place, but not what I'm aiming for here):


Or just too boxy, or the pieces are too big:


I solve these problems by slicing the block in half somewhat randomly across the diagonal:


And then putting the halves back in the pile to be stitched. As it happens, I didn't actually sew these two together, but you can see how much more interesting they would be joined to one another than as part of the same blocks as their respective other halves...


Sometimes a block is a little unbalanced or has a rather large (in proportion to the other pieces) piece on one side - I might trim it a little unevenly to compensate for this. Also, the angled cut will make the subsequent attachments more interesting.


Sometimes, a block gets really big in one direction


and needs a little adjustment:


Here, both halves will go back in the pile to have more added (the left half is almost, but not quite, big enough to cut a 4.5" square from).

When it comes to trimming blocks from your larger pieces, you can do it however it works best for you - you can be very frugal and cut extremely close to one or two edges, which maximises the size of the offcuts - sometimes I do this, but sometimes I like to tilt the block more and just have more throw-away bits in the end.


With this block, I think all the offcut pieces were too small to use, except for the top one, which went back into the sewing pile.


This piece was cut more from the middle and less from an edge, but again, several of the pieces went back into the sewing pile - certainly the two side ones, can't remember about the top and bottom.

It doesn't matter if your pieced unit is quite a bit bigger than the square you plan to cut from it, as that simply produces larger offcuts, which go back into the sewing pile:


Sometimes, the offcut pieces produce the nicest/most interesting blocks,as you get lots of little tiny pieces in the blocks which you couldn't possibly otherwise sew - for instance in the blocks above and below:


Sometimes the pieces are a little larger, but they still all look nice.


Surprisingly, the seams aren't as bad as you might think - if you are careful to press them flat at each stage, they don't usually get too lumpy in the middle.

In terms of colour matching, I don't. I try to be as random as possible - simply taking the first piece of the right size to add to whatever I'm adding to. I do make some exceptions to this rule, trying to avoid adding a strip or piece of a given fabric directly to a block with another large piece of that fabric (I don't worry about this when joining two pieced units, just when adding new scraps to pieced units). I also try to avoid putting lots of black or white in one block as it tends to stand out.

One of the joys of scrappy blocks is that fabrics you would never dream of putting up next to one another actually look fine in a scrappy block.

So, if you've been thinking about doing something similar, perhaps this will help you on your way - happy scrapbusting and Happy 2011!